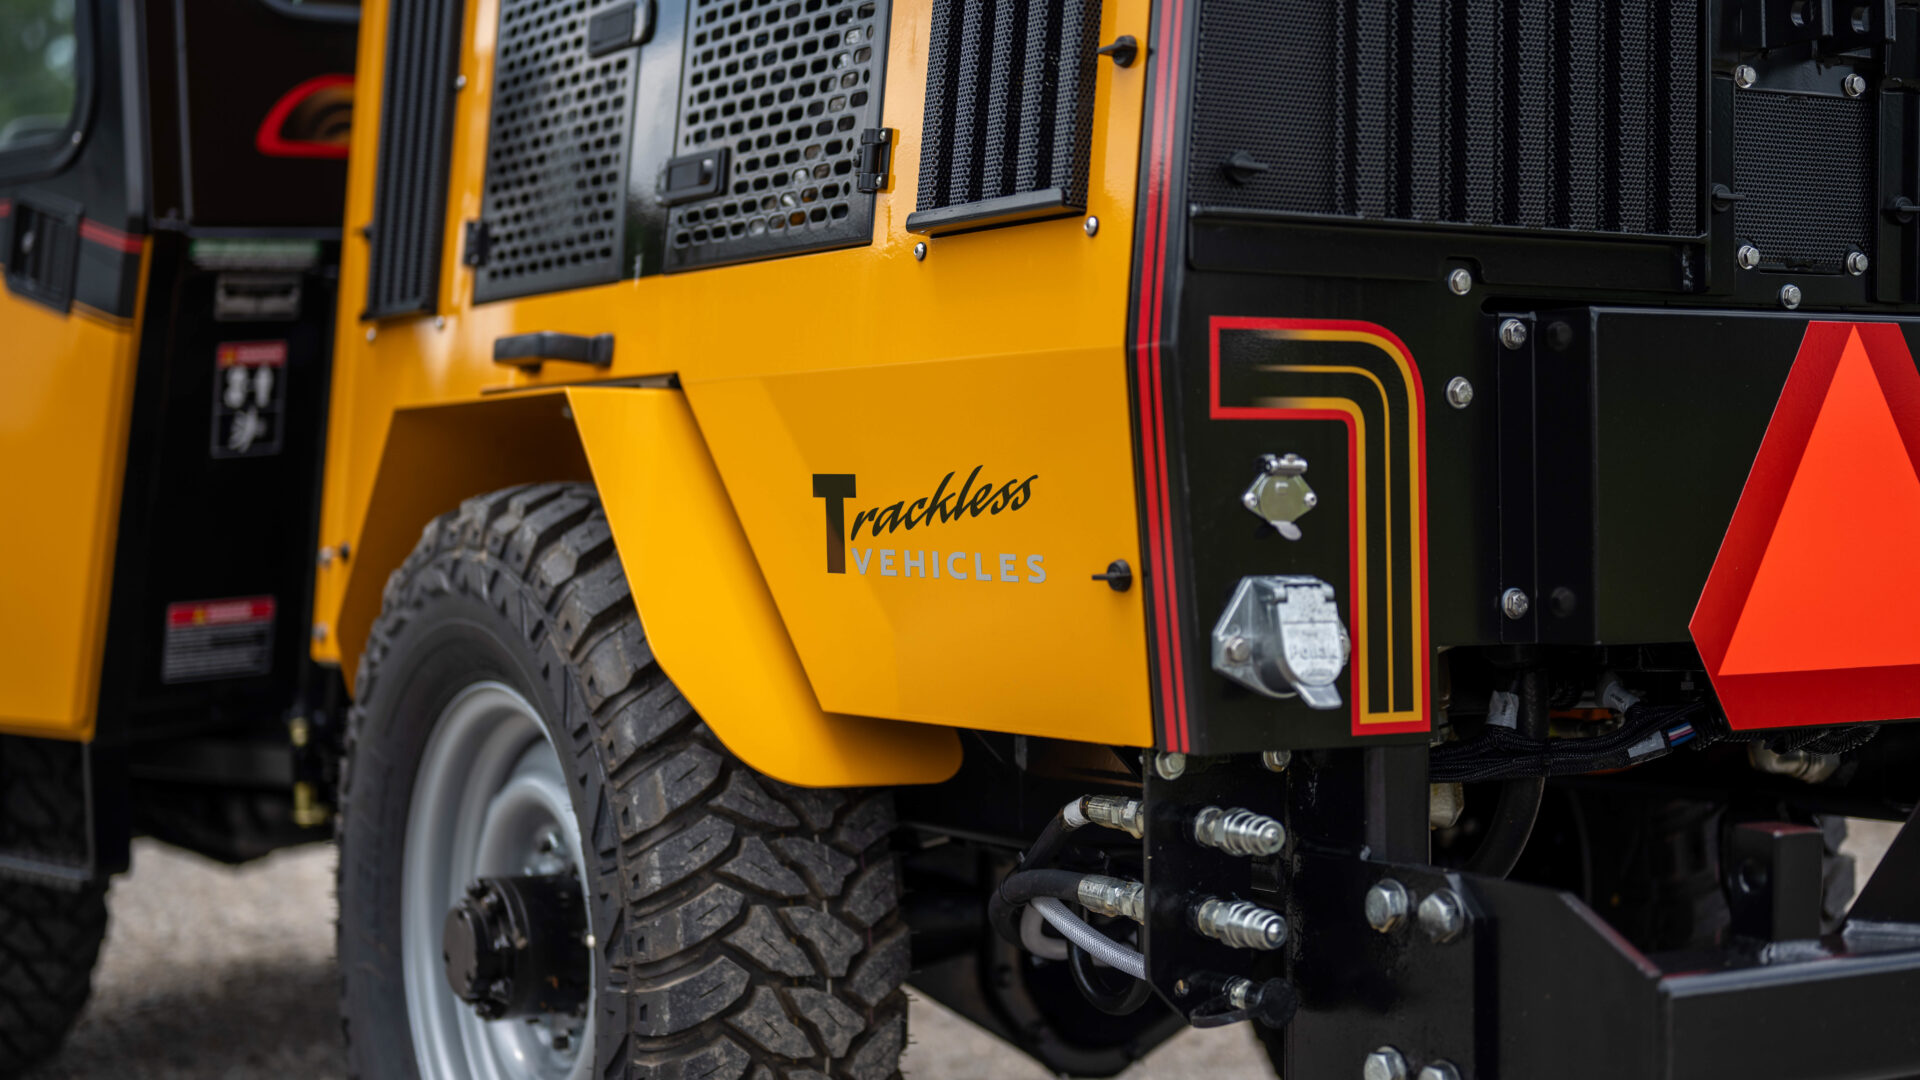
The MT7 joystick is integral to controlling the hydraulic functions of any Trackless attachment connected to the tractor. This guide provides an in-depth look at how these controls operate to enhance your efficiency and precision on the job. If you want to watch a video of this joystick walkthrough, click here.
FNR Switch
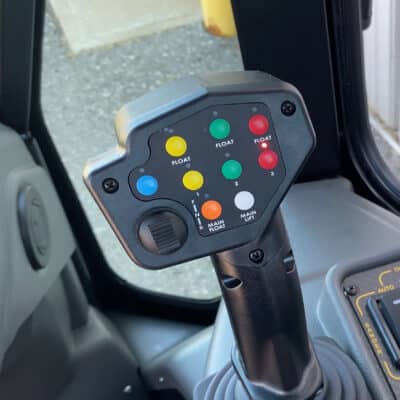
Above: The Trackless MT7’s joystick.
The Forward-Neutral-Reverse (FNR) switch allows you to select the tractor’s direction:
- Forward (F): Move the switch to ‘F’ to move the tractor forward.
- Neutral (N): Select neutral to keep the tractor stationary.
- Reverse (R): Switch to ‘R’ to move the tractor in reverse, activating both the backup camera and alarm.
Pre-Programmed Joystick Functions
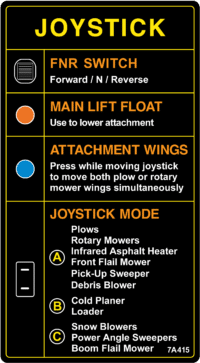
Above: This decal, located in the cab of every MT7 tractor, displays the pre-programmed joystick functions that correspond with various attachments depending on the selected joystick mode.
The MT7 joystick comes with pre-programmed functions tailored to control specific aspects of each attachment. For detailed information on attachment-specific joystick functions, consult the corresponding attachment manual.
Joystick Mode Switch
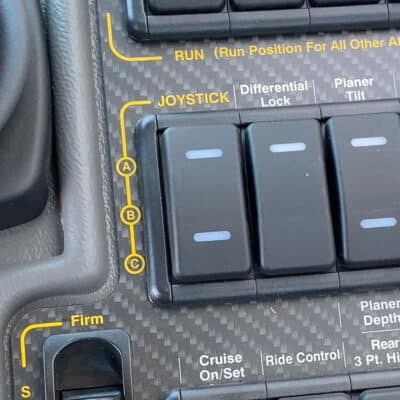
Above: The joystick mode switch is located in the switch bank beside the joystick.
The joystick mode switch, located as the left-most switch in the middle bank of switches, enables the operator to activate a set of pre-selected hydraulic circuits depending on the attachment in use.
- Mode A: Commonly used for mowers and plows. In this mode, the blue circuit allows simultaneous operation of the red and yellow hydraulic circuits. The Main Lift circuit is always active, and the green circuit can be activated by holding the green function button.
- Mode B: Often used for the Cold Planer and Front-End Loader. Here, the green and yellow circuits are active by default. The main lift and red circuits can be used by holding the corresponding function buttons.
- Mode C: Typically used for snowblowers. The red and green circuits are active by default in this mode. The main lift and yellow circuits can be activated by holding the respective function buttons.
Joystick Buttons
Main Float Button
The main float button, when the attachment is on the ground, allows it to float with the terrain’s contours. This feature is crucial for maintaining consistent contact with uneven surfaces.
Main Lift
Selecting the main lift button on the joystick operates the main lift cylinders. Pulling the joystick back raises the attachment, while pushing it forward lowers it.
Float Buttons
Additionally, pressing the yellow, green, or red hydraulic circuit float button allows the current attachment to float. This feature lets fluid flow freely from one side of the circuit to the other at a restricted rate and is also used for hooking and unhooking attachments by releasing pressure on the hydraulic lines.
Hydraulic Circuits
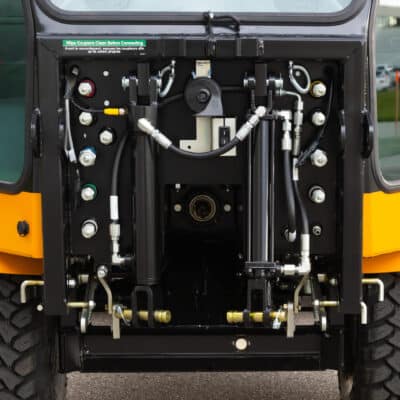
Above: Colour-coded hydraulic circuits located on the front of the MT7.
Each circuit has specific functions based on the attachment in use:
Blue Circuit: Available only in joystick mode A, it operates the red and yellow hydraulic circuits simultaneously but in opposite directions. This function is particularly useful for V-Plows and large mowers, allowing both wings to extend or retract simultaneously.
Yellow Circuit: The function of the yellow circuit varies with the attachment. Specifically, pressing the yellow circuit button selects its operations, with left or right joystick movements activating the functions.
Green Circuit: Similar to the yellow circuit, the green circuit’s functions also depend on the attachment. When pressing the green circuit button, it selects its operations, with forward or back joystick movements activating them.
Red Circuit: Likewise, this circuit’s function varies with the attachment. Pressing the red circuit button selects its operations, with left or right joystick movements activating them.
Want to Learn More?
By understanding and effectively using these joystick controls and hydraulic functions, you will enhance the versatility and productivity of your Trackless MT7 tractor, making your tasks more manageable and efficient. For further details, always refer to the specific attachment manual.
If you want more Trackless tutorials like this one, visit Municipal Tractor University, our free, one-stop-shop online service portal for all things Trackless.
Share your four-season success stories with the Trackless community online! Click here to subscribe to our YouTube channel and ensure you don’t miss out on any new Trackless content! And don’t forget: Trackless is social! You can find us on X, Facebook, Instagram, TikTok, Threads and LinkedIn.
